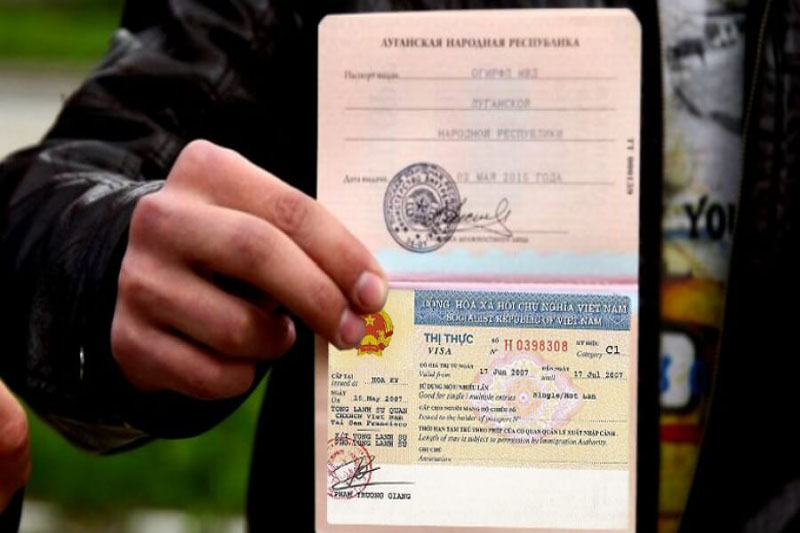
As reported by many travelers, travelers’ feedback is a very important basis for them to make decision which kind of visa to choose, visa at embassy, e-visa or visa on arrival. Here is a story shared by a traveler who was accepted Vietnam e-visa.
As of February 2017, citizens from certain countries (list below) are now eligible to apply for a Vietnam E-Visa.
Vietnam E-Visa quick facts
Tourist Visa Only
Single Entry
Max 30 Days (starting from approved entry date on application)
Non-EXTENDABLE
Currently can only apply 5 days in advance (see below)
3 working days process time
The price is $25 USD
Participating countries
| Andorra | Denmark | Macedonia | Portugal |
| Argentina | Estonia | Malta | Qatar |
| Armenia | Fiji | Marshall | Romania |
| Australia | Finland | Mexico | Russia |
| Austria | France | Micronesia | Samoa |
| Azerbaijan | Georgia | Moldova | San Marino |
| Belarus | Germany | Monaco | Serbia |
| Belgium | Greece | Mongolia | Slovakia |
| Bosnia | Hungary | Montenegro | Slovenia |
| Brazil | Iceland | Myanmar | Solomon |
| Bruney | India | Nauru | Spain |
| Bulgaria | Ireland | Netherland | Sweden |
| Canada | Italy | New Zealand | Switzerland |
| Chile | Japan | Norway | Timor Leste |
| China | Kazakhstan | Palau | U.A.E |
| Colombia | Korea (South) | Panama | United Kingdom |
| Croatia | Latvia | Papua New Guinea | United States |
| Cuba | Liechtenstein | Peru | Uruguay |
| Cyprus | Lithuania | Philippines | Vanuatu |
| Czech Republic | Luxembourg | Poland | Venezuela |
Valid entry and exit Ports
| By Air | By Land | By Sea |
|---|---|---|
| Can Tho International Airport | Nam Can Landport | Ho Chi Minh City Seaport |
| Da Nang International Airport | Song Tien Landport | Nha Trang Seaport |
| Noi Bai International Airport (Ha Noi) | Tinh Bien Landport | Hai Phong Seaport |
| Phu Bai International Airport | Xa Mat Landport | Hon Gai Seaport |
| Phu Quoc International Airport | Mong Cai Landport | Da Nang Seaport |
| Cat Bi International Airport (Hai Phong) | Moc Bai Landport | Vung Tau Seaport |
| Tan Son Nhat International Airport (Ho Chi Minh City) | Lao Bao Landport | |
| Cam Ranh International Airport (Khanh Hoa) | Ha Tien Landport | |
| Huu Nghi Landport | ||
| Cau Treo Landport | ||
| Cha Lo Landport | ||
| Bo Y Landport | ||
| Lao Cai Landport |
How to apply for a Vietnam E-Visa
There is only ONE site that you should using to apply for a Vietnam E-Visa. When you googled to find out information, I’m sure you came across a plethora of other visa “service” sites. Do not use any of those.
This is the only approved government site:
https://evisa.xuatnhapcanh.gov.vn/trang-chu-ttdt
Step 1
This is what the the landing page looks like. Click on the “For Foreigners” obviously.
 Step 2
The next page is just a page stating what to expect. Please note that it may take up to 3 WORKING days to process your e-visa. As a data point, it only took 1.5 days to receive ours.
Step 3
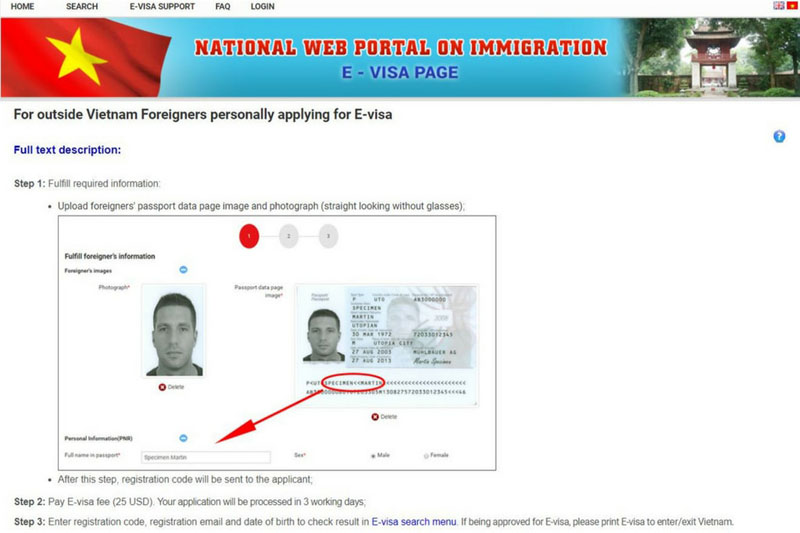
Data page. Fill out your info! You’ll have to upload a passport photo. Personally we just took headshots against a white wall in the hostel and those worked no problem!
You’ll also need a picture of your passport data page. Just a normal photo will do that has the entire page in it.
Do trim down the size of the photos as if they are too big the site won’t accept them. I made ours small enough so the file size was just under 1MB. Pixel wise they were like 1700×2000.
This is also where you put in your intended entry date. Note for some reason the system won’t allow you to put in a date more than 5 days ahead of the current date. So it doesn’t appear as of this writing that you can apply further out than 5 days. Good thing it only takes 3 WORKING days to process! Plan accordingly! Also be sure your planned exit date is no more than 30 days after entry date.
Once all relevant details have been filled out, check the box that you pinky swear your info is legit, fill out the capcha, and click Review Application Form.
Step 4
It takes a little while for the site to get to the next page so don’t freak out and start hitting back and refresh. Just let it work! You’ll eventually get a popup that says “Successfully Completed!” and have some info. Make sure you write down or take a screenshot of your registration code as you’ll need that number to look up your visa later (to check payment/progress). If you got over anxious and closed the pop up, don’t worry the info is on the bottom of the next page.
Step 5
Review your data. Make absolutely sure everything is correct. If you messed something up, click Back. Else click Payment.
Step 6
You’ll come to another review page with some of your info and the fee info. Check the “I agree” box and click “Pay E-Visa Fee”
Step 7
Payment Page. You can use Visa or Mastercard only. Last chance to write down your registration code (called order number here)
Upon successful completion you’ll receive a message stating such and a reminder that it can take up to 3 working days to process.
To check the status of your Vietnam E-Visa application, go to THIS PAGE (also accessible from the menu on the e-visa site) You will need your registration code, email that you used on your application, and date of birth to check the status.
Read More: Guide What to Do If Your Passport is Lost or Stolen in Vietnam
What to do once approved
Once your visa is approved you will get an email letting you know and a link to download your e-visa (pdf). It’s just back on the same status check page. In fact if you just keep checking back, you’ll likely get it before you even get this email.
Print out your e-visa and bring it with you when you enter Vietnam. I sent myself a copy to keep in my email as well just in case.
The Vietnam E-Visa system is not perfect but you can improve your odds and save time by Vietnam e-Visa service (IVisa) with more convenient.


